Written by the MediBC medical-supply team · Reviewed against Australian Resuscitation Council Guideline 9.1.1 and healthdirect fracture first-aid guidance · Updated June 2026.
The wrong splint size can do as much harm as no splint at all. A finger splint that is too narrow lets the bone shift; one that is too wide compresses neighbouring digits and cuts circulation. This guide shows you how to pick the right splint for every common workplace and household injury — finger fractures, wrist sprains, forearm breaks, leg injuries and the multi-limb scenarios first responders prepare for.
Every recommendation below maps to product sizes stocked in MediBC's Australian first aid catalogue and aligns with the Australian Resuscitation Council's musculoskeletal injury guideline. If you are responsible for a workplace kit under the model Code of Practice (First Aid in the Workplace), bookmark this page and use the size matrix when you restock.
Why splint size matters in first aid
A splint has one job: immobilise the joint above and the joint below an injury so the broken bone or torn ligament cannot move during transport. Get the size wrong and that job fails in two predictable ways.
Too small — the bone keeps moving
A splint shorter than "joint above to joint below" rule allows rotational movement at the unsupported joint. A finger splint that ends at the proximal interphalangeal joint instead of extending past the metacarpophalangeal joint will not stabilise a metacarpal fracture. The casualty will report ongoing pain on movement — a clinical sign that the splint is undersized, not just uncomfortable.
Too large — circulation is compromised
An oversized splint forces you to bandage it harder to keep it in place. That bandage acts as a tourniquet within minutes. The classic field sign is pale, cold fingertips with capillary refill over three seconds. Resus Council guidance is clear: if you cannot fit the correct size, loosen everything and improvise with a body splint (taping the injured limb to the opposite leg, or strapping an injured arm to the torso) until the right size is available.
The three main splint types in Australian first aid kits
Australian workplace kits typically stock three splint families. Each solves a different injury pattern and a workplace kit graded for a hazardous environment (construction, mining, manufacturing) usually carries all three.
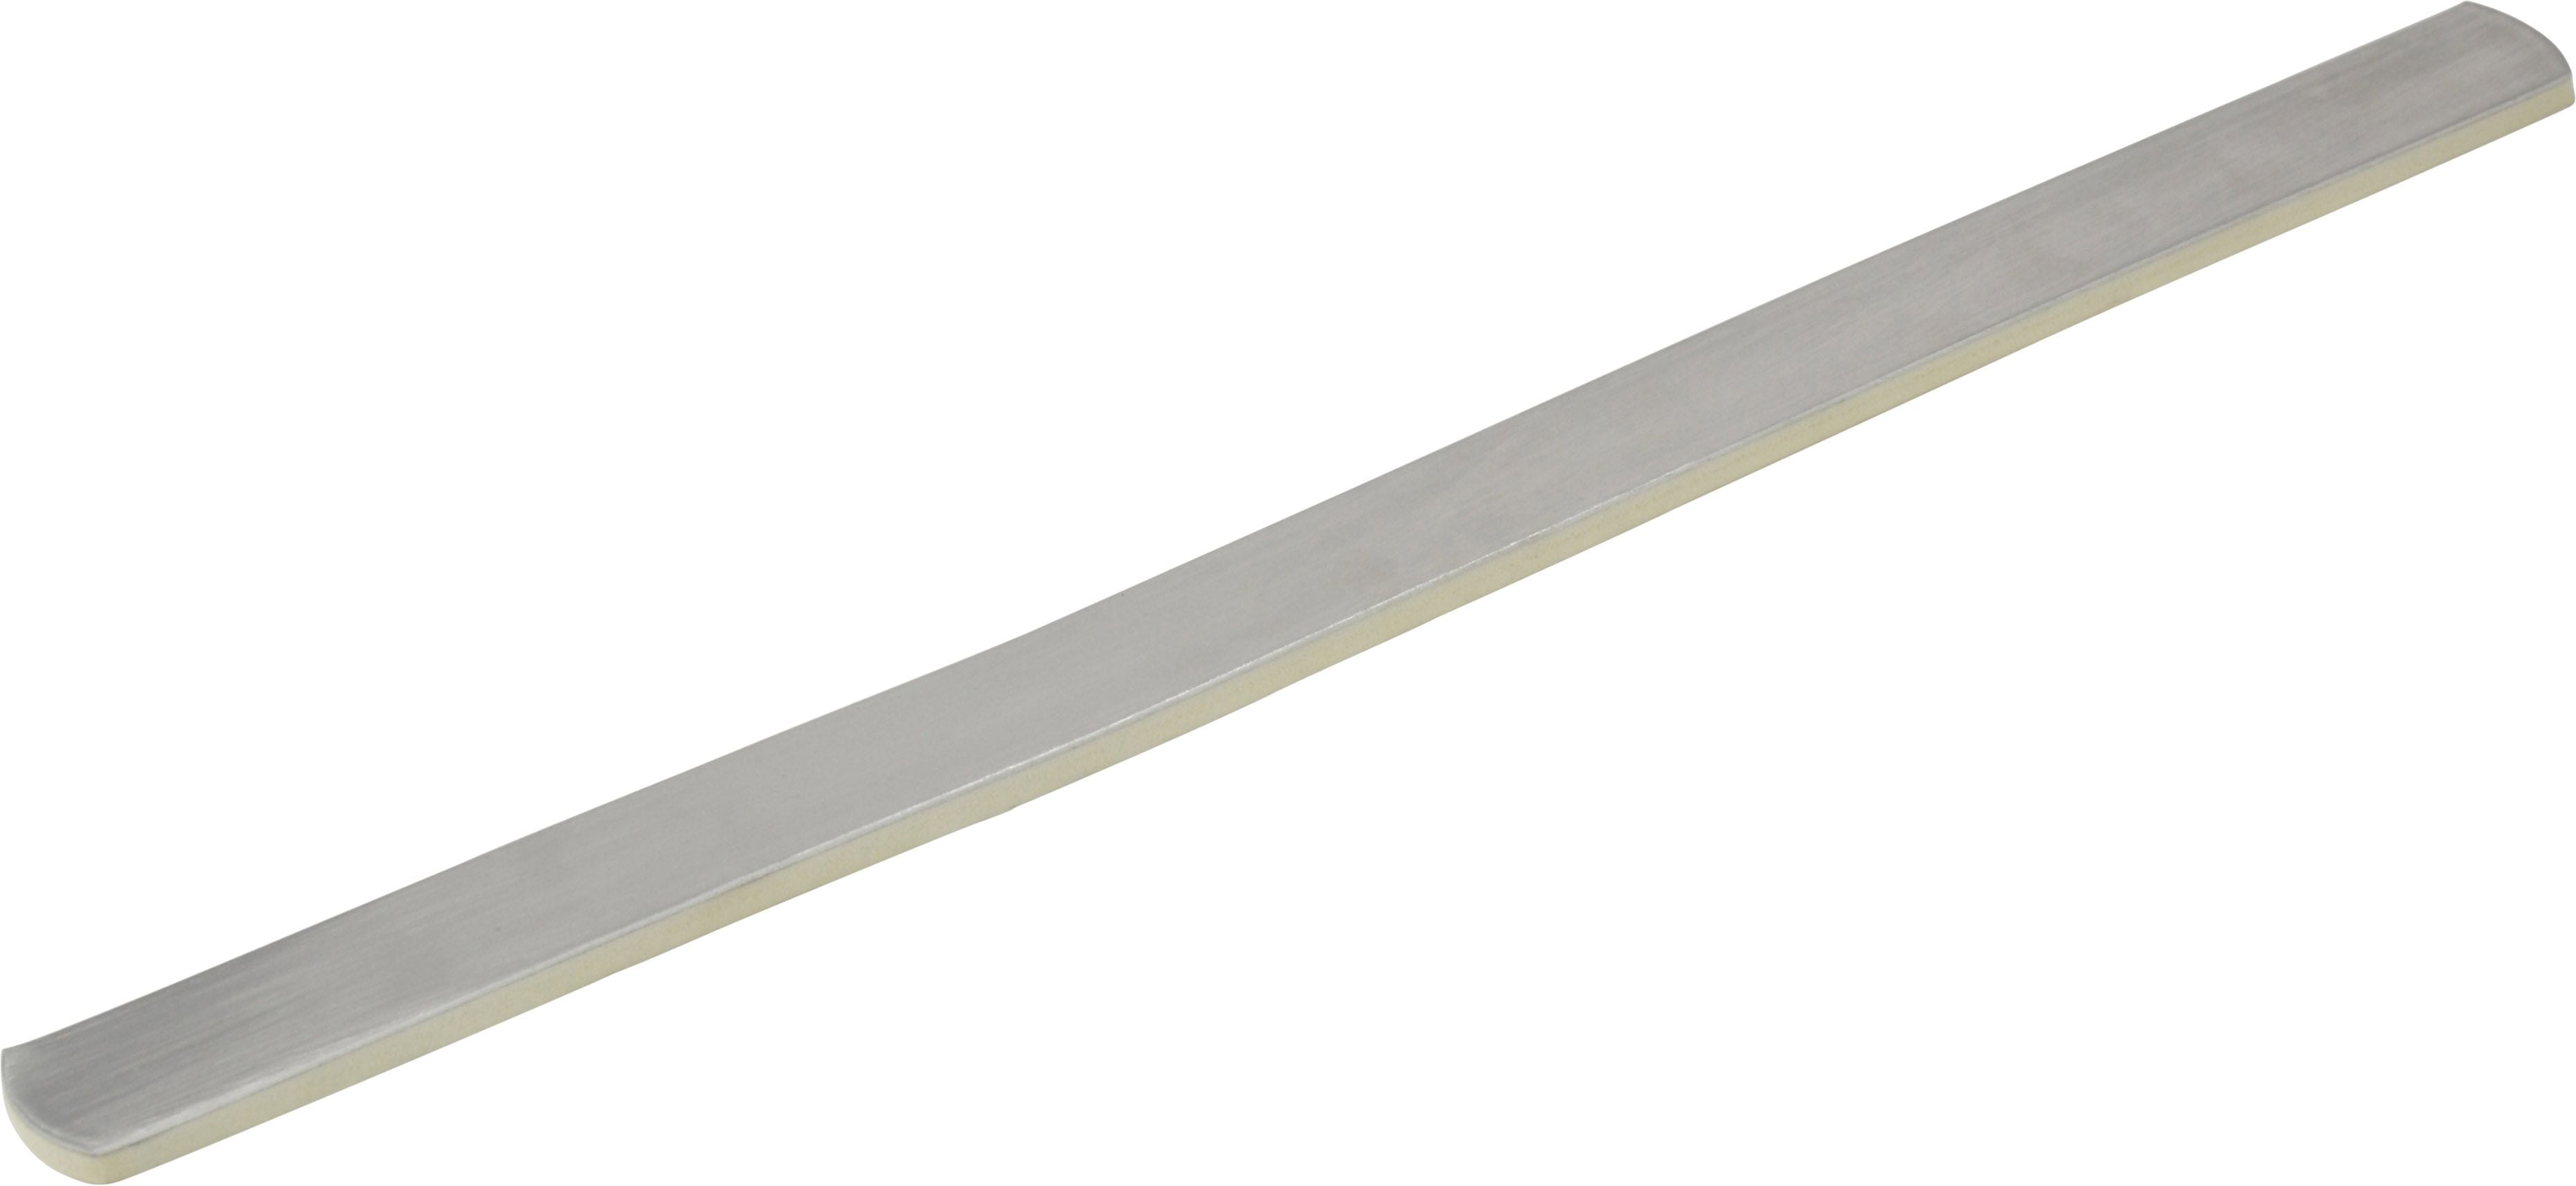
Rigid aluminium splints with foam padding
Thin malleable aluminium core with closed-cell foam padding bonded to both faces. The clinician bends it to the limb's contour. Used for fingers (in three widths), wrists, forearms and lower legs. Reusable if the padding is intact, X-ray translucent in most cases, and the workhorse of every well-stocked Australian kit.
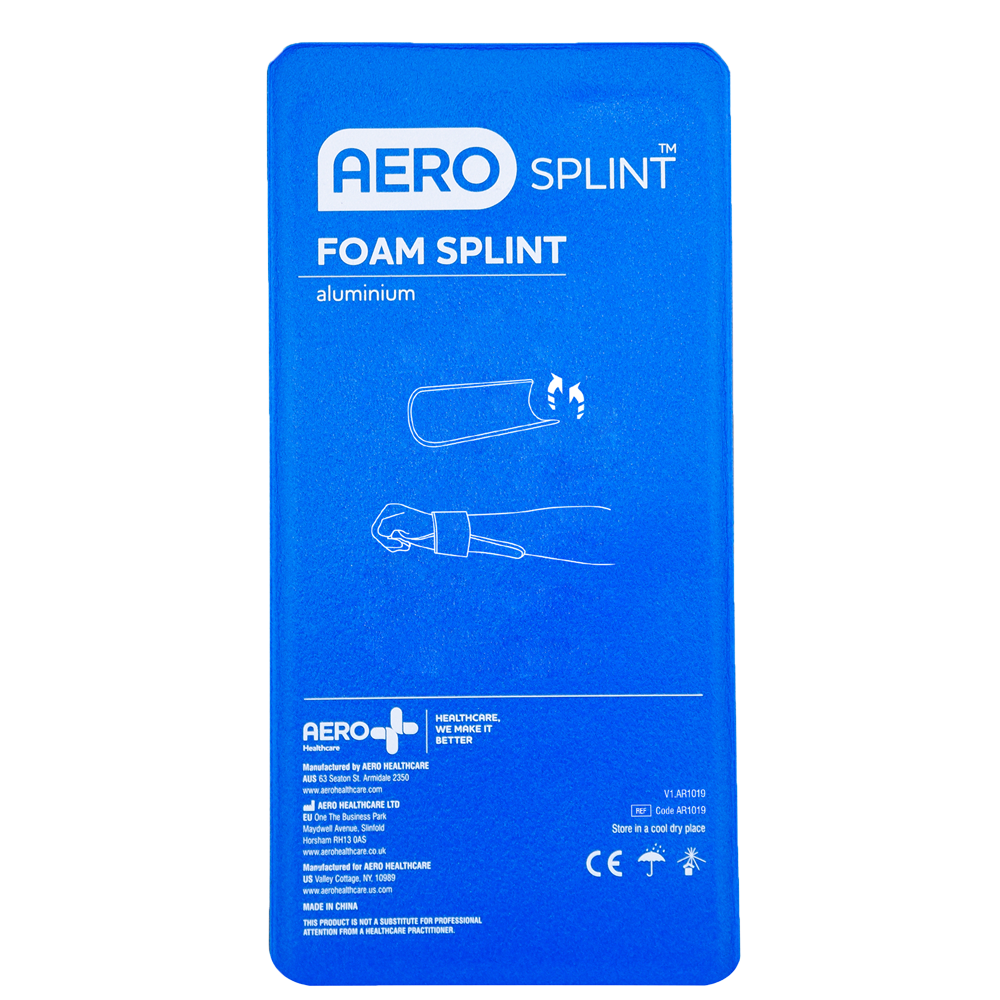
Folded aluminium foam splints (SAM-style)
Same materials but supplied folded compact. The user unfolds, bends a structural T or U curve into it, and applies. Saves enormous space — an extra-large 91 x 14cm sheet folds to roughly 14 x 22cm and weighs under 200 grams. Ideal for vehicle kits, remote-work medical packs and outdoor education kits.
Inflatable air splints
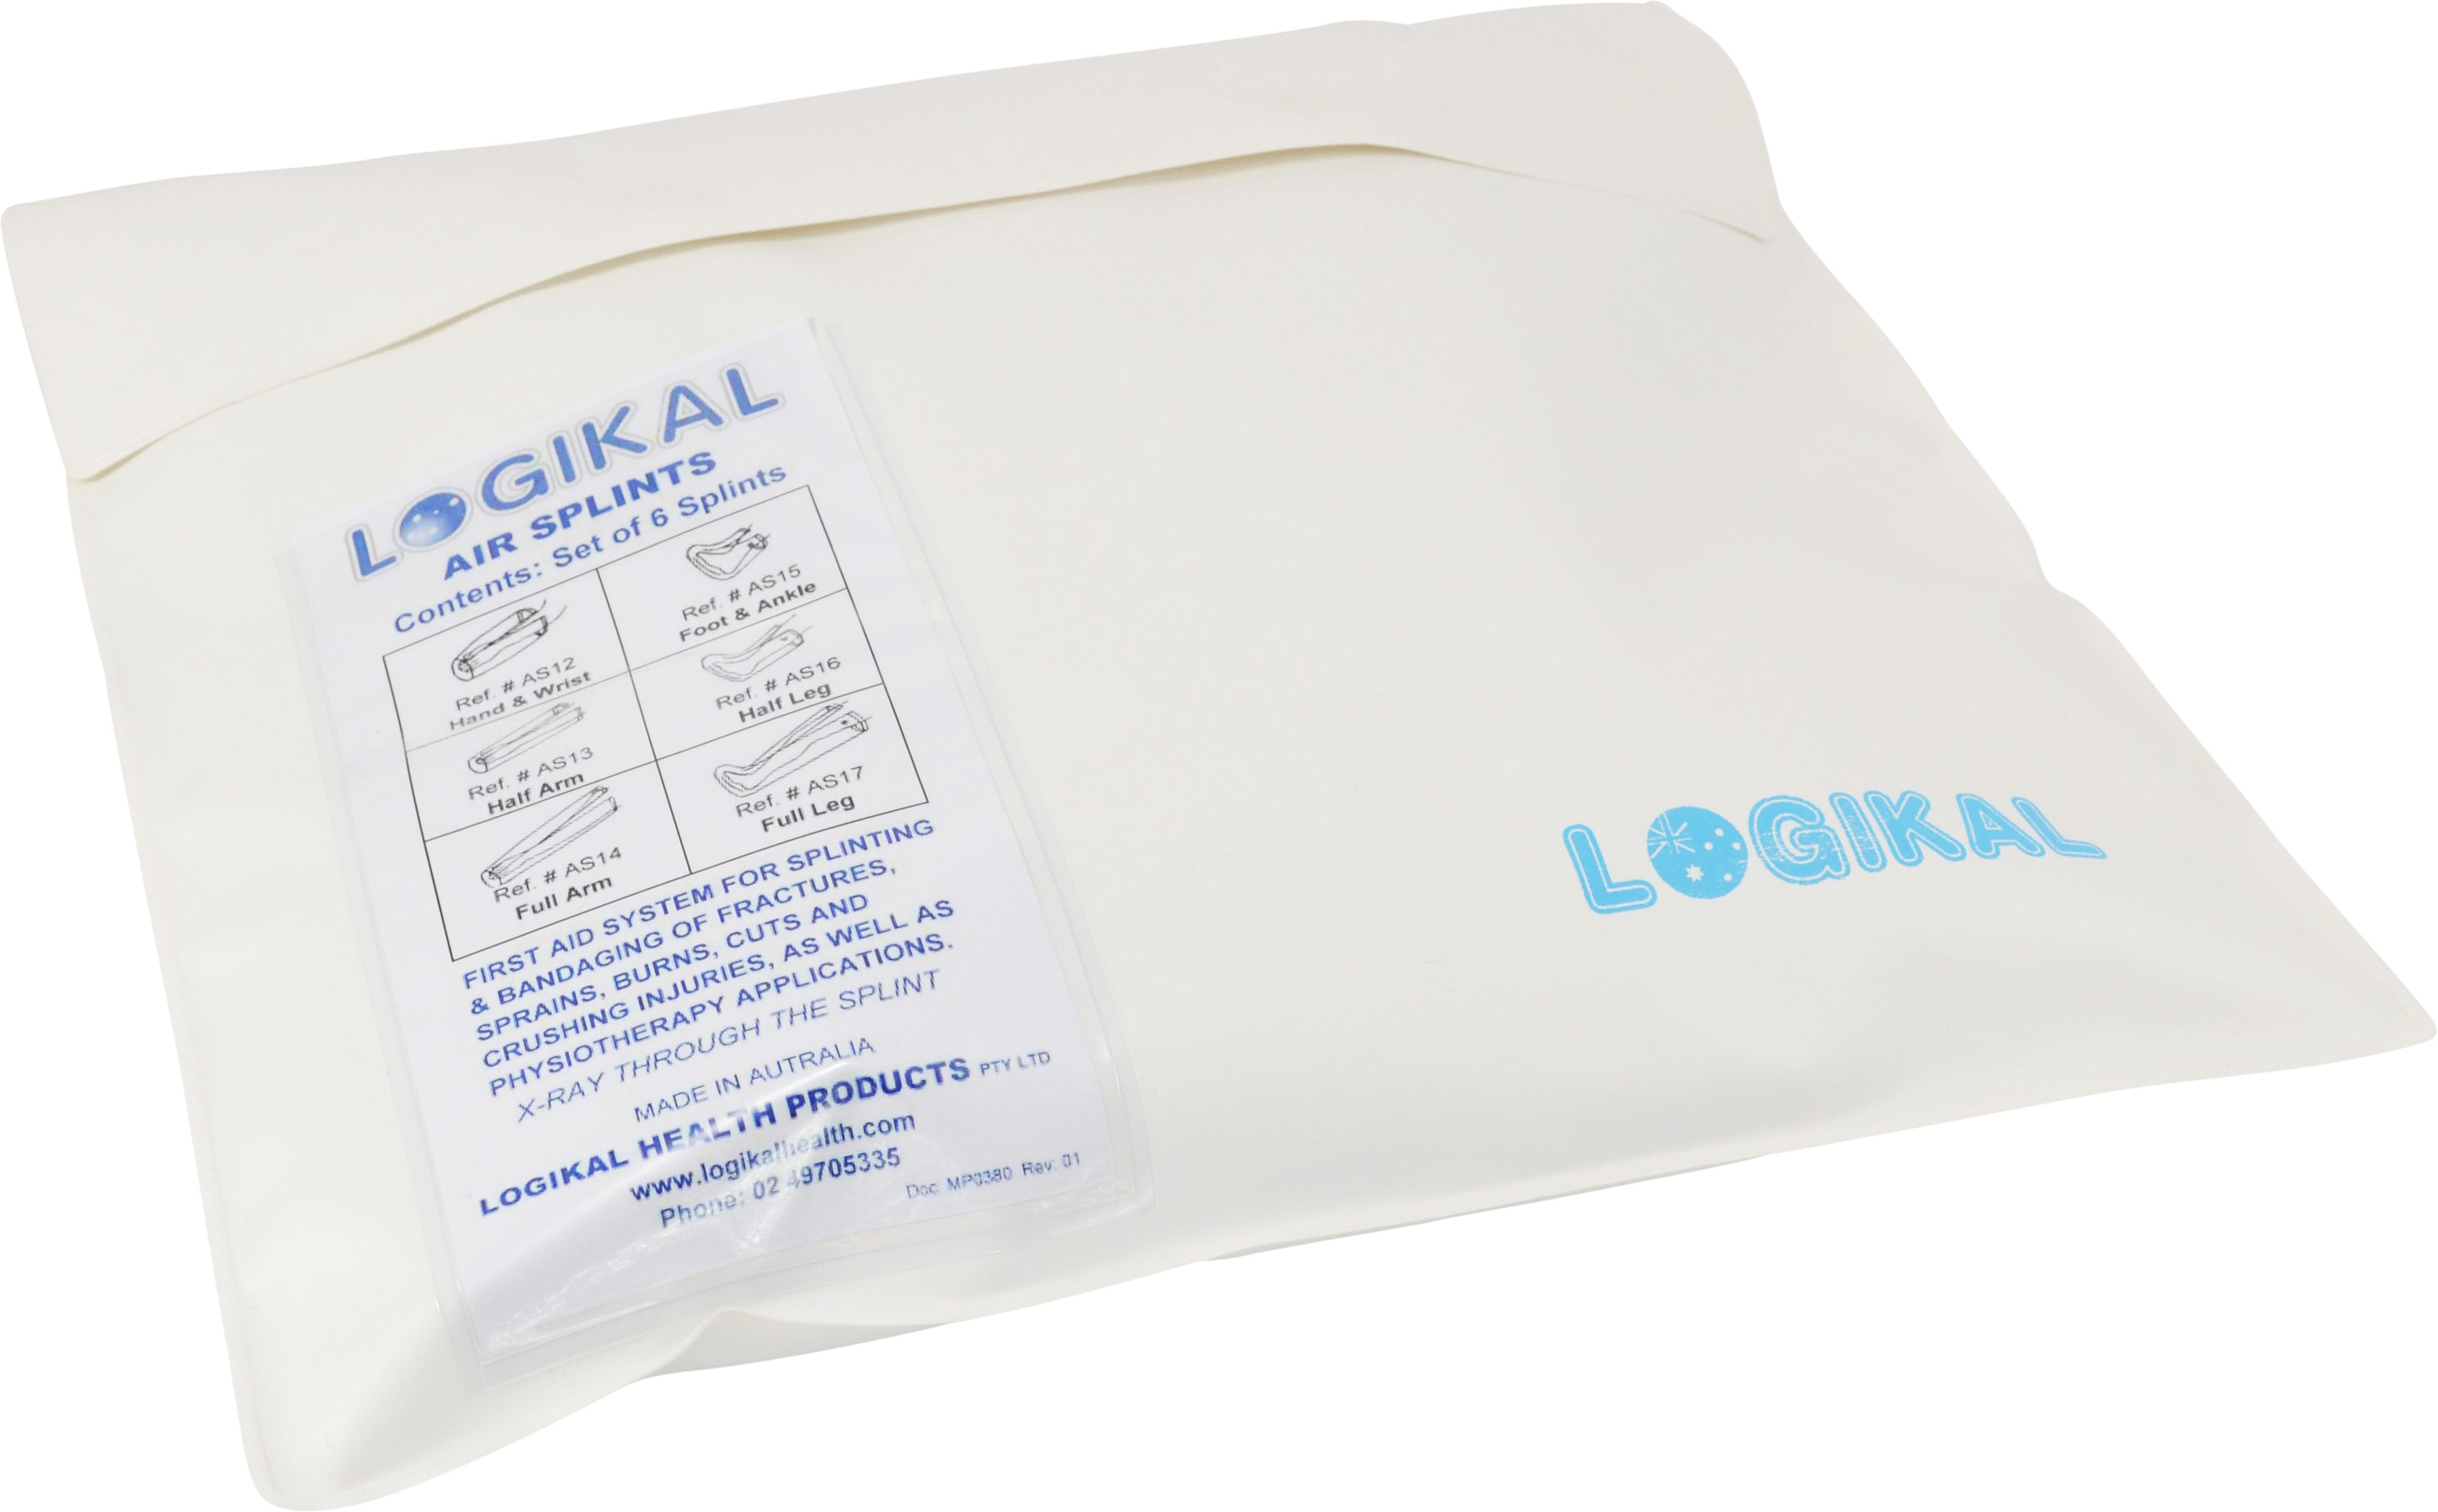
Clear PVC sleeves that you slide over an injured limb and inflate to a firm but not hard pressure. They self-conform to the limb's shape, allow visual monitoring of the injury through the clear plastic, and apply uniform circumferential support. Air splint satchels typically include four to six pre-sized sleeves covering hand/wrist, half-arm, full-arm, foot/ankle, half-leg and full-leg.
Aluminium finger splints: sizing chart by finger
The three aluminium finger splint widths cover every adult and most child finger sizes. Match width to the diameter of the uninjured equivalent finger (or the injured finger's pre-injury size if you can estimate it).
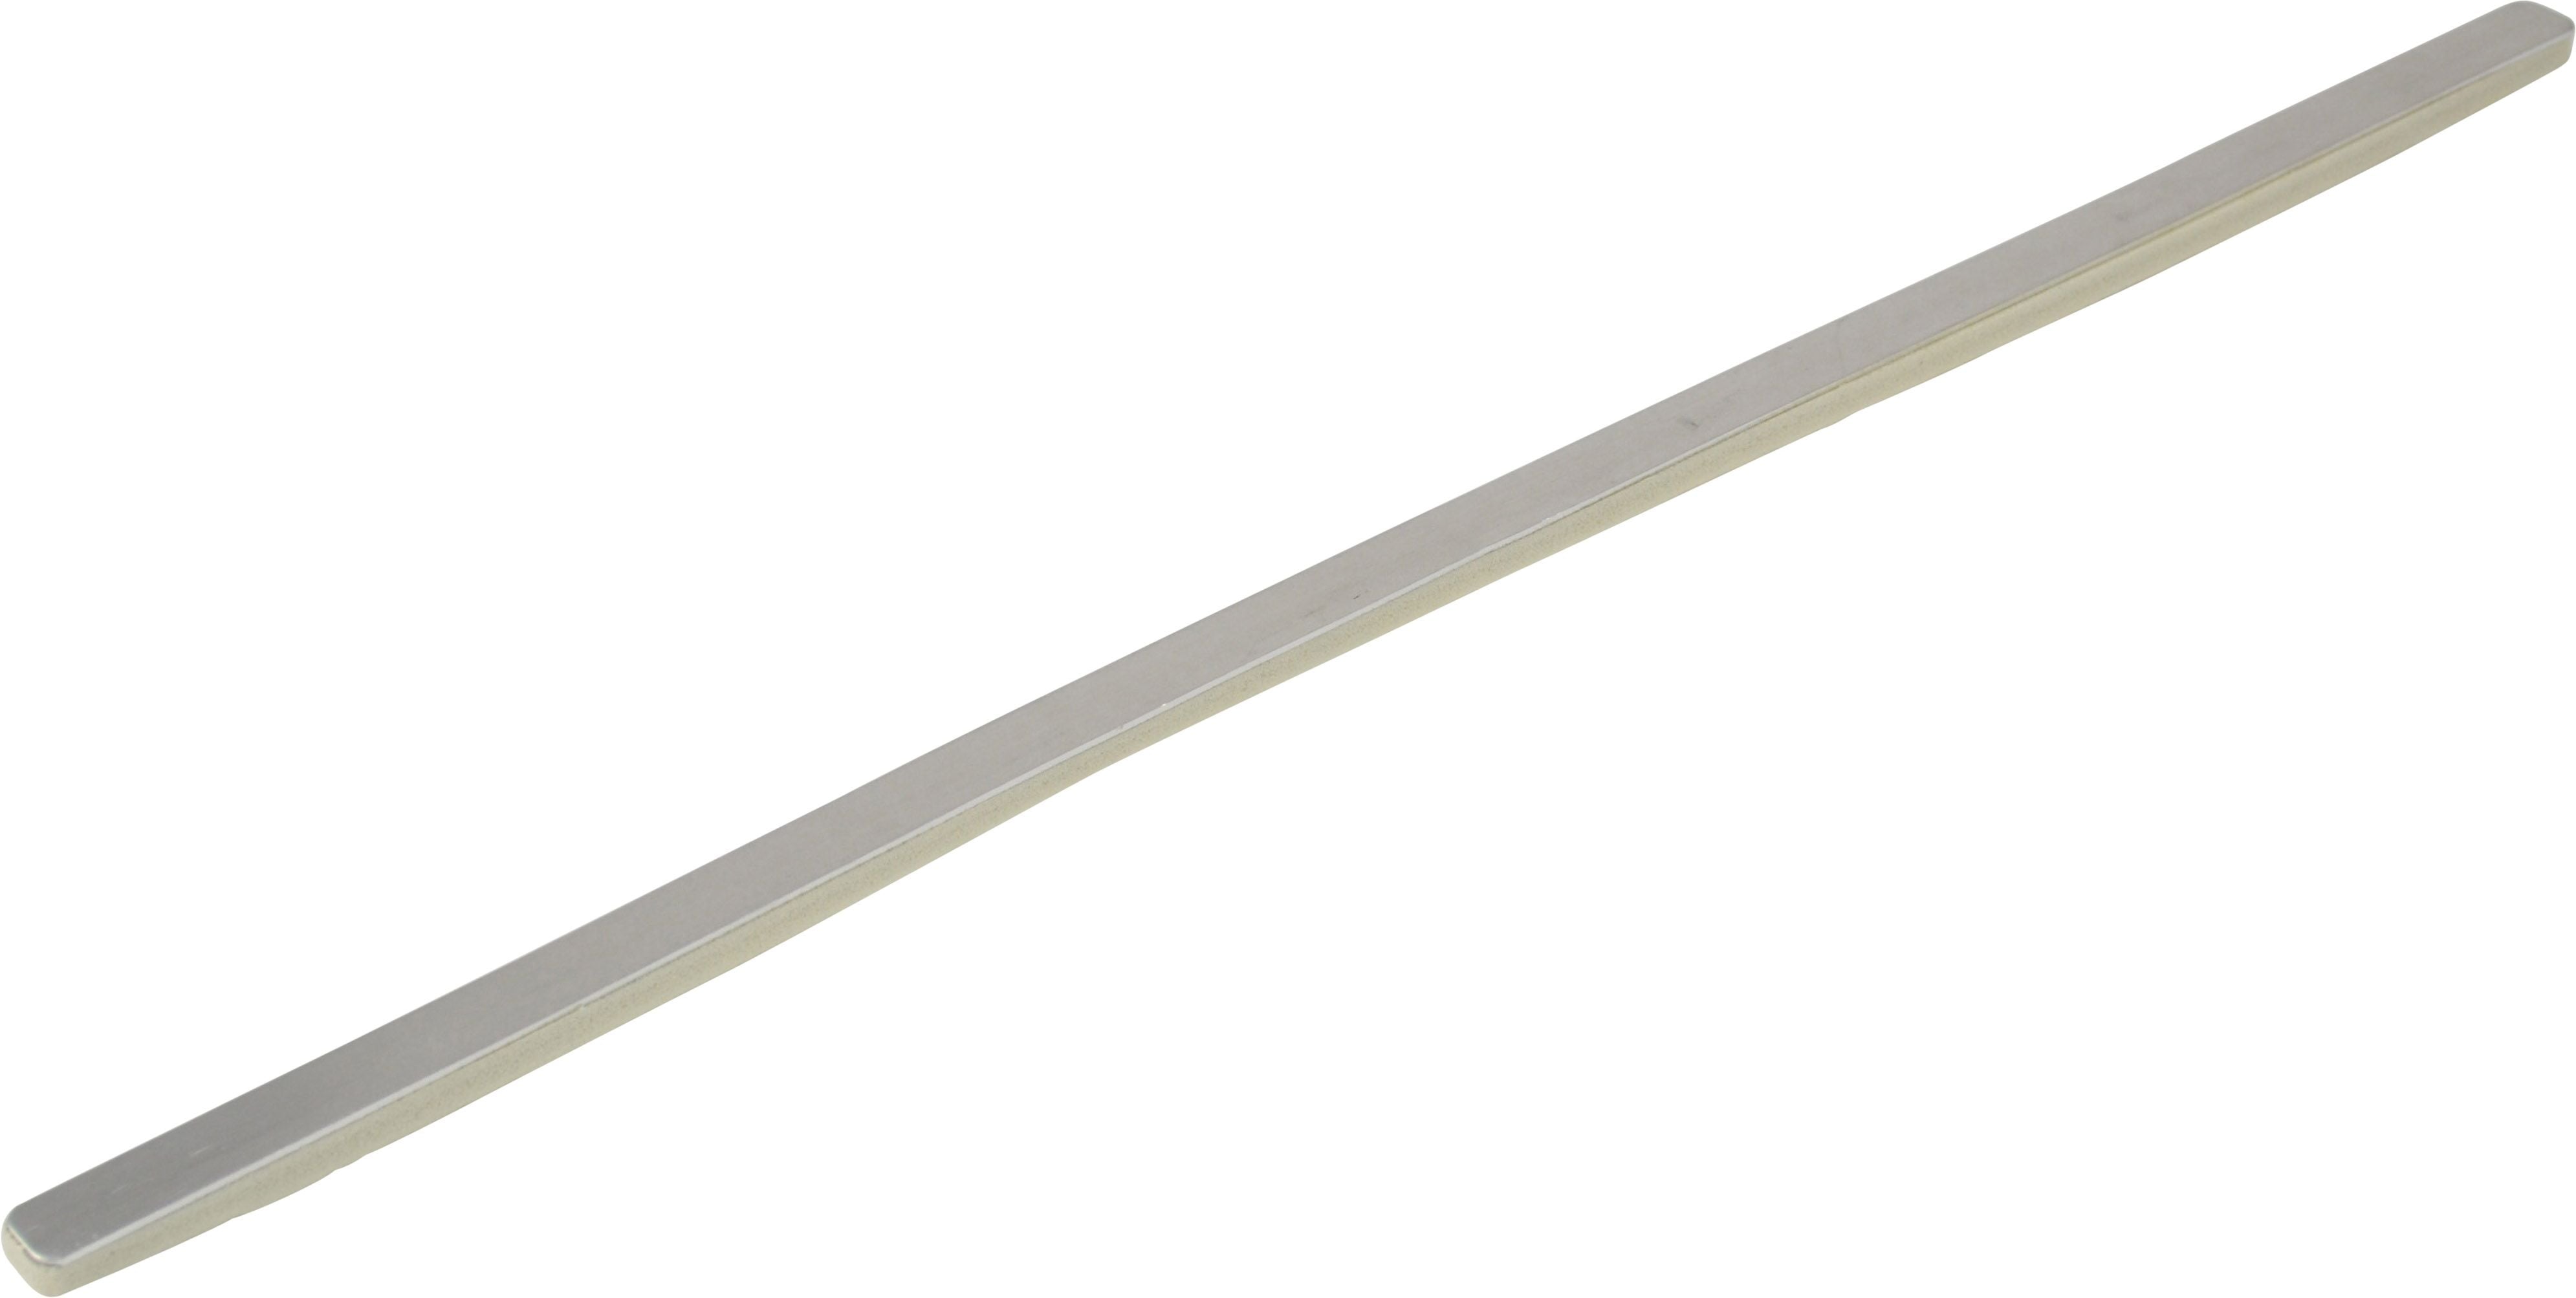
1.3cm width — narrow fingers
The 1.3 x 48cm splint fits children's fingers, adult little fingers and slim adult ring fingers. The 48cm length is intentional: you cut to size with bandage scissors so the splint extends from fingertip to mid-metacarpal (the back of the hand), immobilising both interphalangeal joints and the metacarpophalangeal joint.
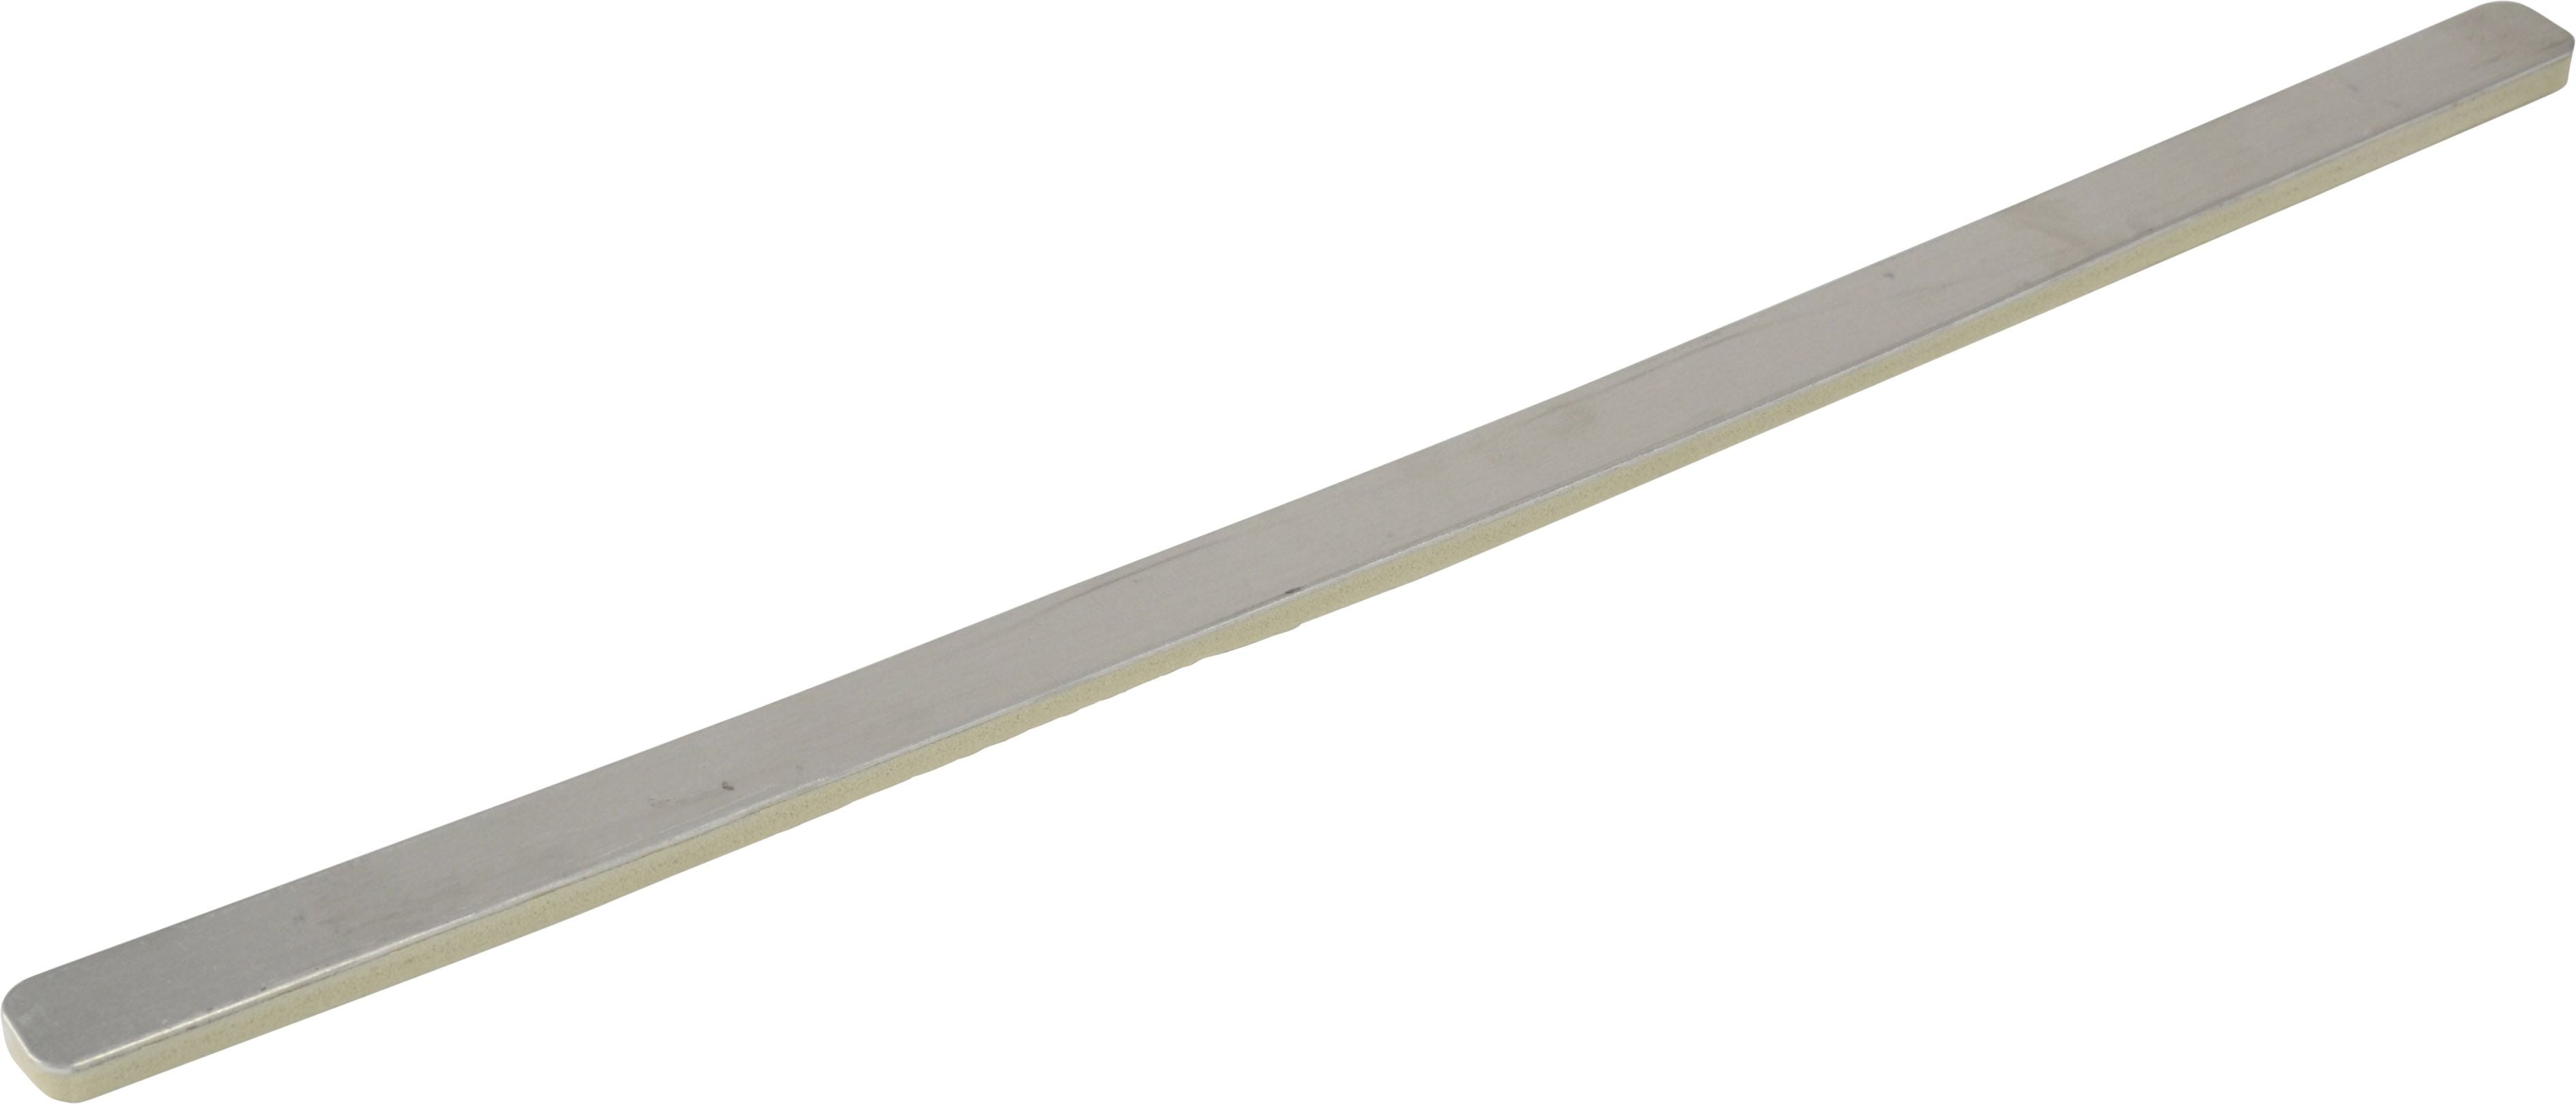
1.9cm width — most adult fingers
The 1.9 x 48cm splint is the default adult finger splint. Use it for index, middle and ring finger injuries on average adult hands. The slightly wider profile distributes pressure across a broader contact area and resists rotational forces better than the 1.3cm during transport.
2.5cm width — swollen fingers and thumbs
The 2.5 x 46cm splint is for thumb injuries (the thumb is anatomically larger and angled differently to the four fingers) and for adult fingers that have swollen significantly post-injury. A swollen finger needs a wider splint than its pre-injury size — never compress a swollen digit into a too-narrow splint.
Three-width rule: stock all three widths. Workplace kits that carry only the 1.9cm "middle" size routinely fail at the bedside when an injured thumb or a paediatric finger needs splinting.
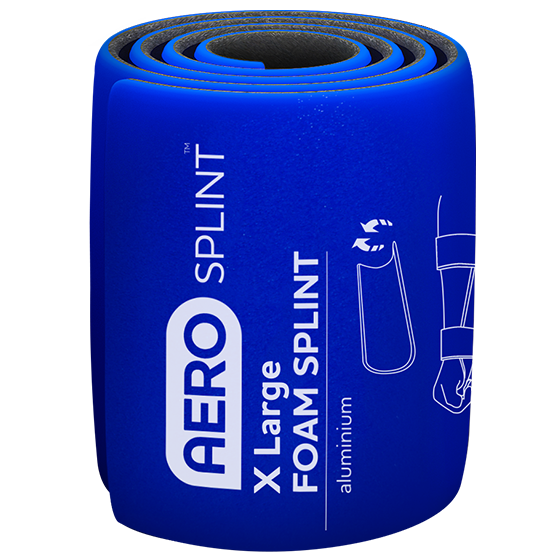
Foam-padded aluminium splints: short to extra-large sizing
The folded aluminium foam splints scale up from finger and hand injuries to full-leg fractures. Stocking two sizes — short and extra-large — covers the realistic range of workplace musculoskeletal emergencies.
Short (22 x 11cm) — wrist, hand and ankle
The short splint covers wrist fractures, hand-and-thumb spica configurations, and isolated ankle injuries on smaller-framed casualties. The 11cm width handles the breadth of an adult wrist comfortably. Pack one in every vehicle kit — wrist injuries from falls, sports and warehouse slips are the most common single-event splinting need.
Extra-large (91 x 14cm) — full forearm, full leg, neck collar
The XL sheet is long enough to splint from elbow to fingertip on a tall adult or knee to ankle on most adults. Bent into a horseshoe along its long axis it provides cervical collar support. The 14cm width is wide enough to wrap fully around an adult calf or thigh when shaped into a U.
Folding for compact storage
The XL splint folds to roughly 14 x 22cm — about the size of a tablet computer — and the short splint folds to under 11 x 12cm. A complete adult-coverage splint kit fits in a single A5-document pouch in a backpack or vehicle kit. Critical for mobile workforces.
Air splints: the multi-limb solution
Air splint satchels are the choice when you need to cover every plausible limb injury with one product. Mining, construction, remote workforce and ambulance kits stock them precisely because a single satchel addresses any plausible limb fracture without size-matching guesswork.
What is in a typical satchel
A complete air splint satchel includes pre-sized clear PVC sleeves for hand/wrist, half-arm, full-arm, foot/ankle, half-leg and full-leg applications. Slide the relevant sleeve over the injured limb, close the zip or velcro closure, then inflate by mouth or pump to a firm-but-yielding pressure (you should be able to depress the splint surface a few millimetres with your thumb).
Advantages over rigid splints
Air splints self-conform to limb shape — no bending or sizing required at the bedside. The clear PVC lets you watch for circulation changes through the splint. They double as compression for severe bleeding (inflate slightly harder over a pressure dressing on the arm/leg). And they re-pack flat for vehicle storage.
Cautions specific to air splints
Pressure inside the splint changes with altitude. If you transport a casualty by helicopter or on roads that climb in elevation, the splint expands and may compress circulation — monitor capillary refill every 5 minutes during transport and release a small amount of air if signs appear. Air splints are also unsuitable for severely deformed fractures where rigid support gives a more controlled hold.
Australian Resuscitation Council guidance on splinting
The Australian Resuscitation Council Guideline 9.1.1 (soft tissue injuries) and supporting guidelines on fractures and dislocations set out the bedside protocol every workplace first aider should follow. The headline rules:
Splint in the position found
Unless circulation distal to the injury is absent, do not attempt to realign a deformed limb. Bend or pad the splint to match the limb's existing shape. Realigning a fracture in the field can lacerate vessels and nerves and convert a closed injury into an open compound fracture requiring surgery.
Joint above, joint below
The splint must immobilise the joint above and the joint below the suspected fracture site. A mid-forearm fracture needs a splint reaching from above the elbow to past the wrist. A mid-tibia fracture needs a splint from above the knee to past the ankle. Anything shorter is partial immobilisation only.
Recheck circulation every 15 minutes
Capillary refill, skin colour and warmth, sensation and movement (if pain allows) — assess all four at 15-minute intervals during transport. Document the readings. Worsening readings mean loosen the bandaging holding the splint, not the splint itself.
How to apply a splint correctly
Splinting is a tactile, slow procedure. Rushing it produces bad outcomes. The order matters.
Step 1 — control bleeding first
If the fracture is open (bone visible or wound over the fracture site) cover with a sterile non-adherent dressing and control bleeding with direct pressure or a pressure bandage before splinting. The splint goes on over the dressing, not under it.
Step 2 — pad bony prominences
The wrist, elbow, knee and ankle have prominent bony landmarks that take pressure poorly. Pad with gauze, a folded triangular bandage, or the foam built into a foam-padded aluminium splint. Padding gaps cause pressure sores within an hour.
Step 3 — bend the splint before applying
Shape an aluminium splint on yourself (your forearm, your thigh) before placing it on the casualty. Bending in situ is painful for the casualty and rarely produces a good fit. For air splints, slide the sleeve on uninflated and then inflate.
Step 4 — secure with bandages
Two or three crepe or self-adhesive bandages spaced along the splint's length. Snug enough that the splint cannot slide, loose enough that you can slip a finger between bandage and skin. Tie knots over the splint, not over the injured limb.
Step 5 — recheck and document
Capillary refill, sensation, movement, skin colour distal to the splint. Write the readings on the casualty's hand or a clip-on tag, and the time you applied the splint. The receiving hospital will want both.
Common splinting mistakes to avoid
These five mistakes show up repeatedly in workplace incident reviews and ambulance handovers.
1. Splinting too tightly
A splint that "feels firm" to the first aider is usually about twice as tight as it should be. Use the finger-slip test on every bandage holding a splint.
2. Not padding bony points
Pressure sores from unpadded splints become hospital problems within 60 minutes. Use the foam padding on foam-padded aluminium splints; for plain aluminium, add gauze pads at every bony prominence.
3. Removing footwear or rings
Leave rings, watches and boots in place unless you can see clear circulation compromise. Cutting boots off a sprained ankle is rarely needed pre-hospital and can disturb the injury.
4. Splinting suspected spinal injuries with limb splints
Limb splints do not stabilise the spine. A suspected spinal injury needs the casualty kept still on the surface they were found on, with attention to maintaining a neutral airway, until paramedics arrive.
5. Reusing a damaged splint
An aluminium splint bent and re-straightened more than twice has fatigued metal at the crease points. Stress-test fold any splint you suspect has been previously deployed — if it snaps cleanly under hand pressure, discard.
When NOT to splint and call 000 immediately
Some injuries need ambulance attendance before splinting — splinting them in the field can worsen the outcome.
Suspected spinal injury
Any high-energy fall, motor vehicle accident or load-on-back incident. Keep the casualty still, maintain airway, call 000.
Femur (thigh bone) fracture
The femur is the largest bone in the body. A fracture causes significant internal bleeding and the casualty needs traction splinting that pre-hospital paramedics carry but most workplace kits do not. Call 000, support the leg with rolled blankets to limit movement, and wait.
Open fracture with active bleeding
Control the bleeding first with a pressure dressing, then call 000. The splint goes on after the bleeding is controlled and only if the ambulance is more than 15 minutes away.
Loss of pulse distal to the injury
If you cannot feel a pulse below the injury (radial pulse for arm injuries, dorsalis pedis pulse for leg injuries), call 000 immediately and gently restore the limb to anatomical position — this is the only situation where Resus Council guidelines authorise field realignment.
Choosing splints for your workplace kit
Match your splint inventory to the WHS Act's risk assessment for your workplace. Office-only kits need less; hazardous-industry kits need everything.
Low-risk (office, retail, hospitality)
Two aluminium finger splints (1.3 and 1.9cm), one short foam-padded aluminium splint, two crepe bandages, two triangular bandages. Covers the realistic finger-and-wrist injuries from slips and minor impacts.
Medium-risk (light manufacturing, warehouses, education)
Add the 2.5cm finger splint, an extra-large foam-padded aluminium splint, additional crepe and self-adhesive bandages, instant cold packs. Covers wrist-to-ankle injuries and minor lower-limb fractures.
High-risk (construction, mining, remote work)
Full splint inventory including an air splint satchel, all three finger splint widths, both foam-padded aluminium sizes, traction splint (if trained), spinal stabilisation board, plus extensive bandaging. WHS regulators expect this level for high-risk classifications.
Splint maintenance and replacement intervals
Splints are not consumables in the way bandages are — but they are not lifetime items either.
Inspect every six months
Foam padding loses cushioning over time. Aluminium develops micro-fractures at any crease point. Air splints can develop pinhole leaks at fold points. A six-monthly bench inspection should include: bend test on aluminium, inflation hold test on air splints (10 minutes — pressure must not drop visibly), foam integrity check.
Replace after every deployment
Even if the splint "looks fine" after a single use, replace it. Padding compression, metal fatigue and microscopic biological contamination all accumulate after a single emergency deployment.
Document everything
WHS audits will ask for splint inspection records. A simple spreadsheet — purchase date, last inspection date, condition, replacement due — satisfies the requirement and keeps your kit audit-ready.
Frequently Asked Questions
What size finger splint do I need for an injured finger?
Match splint width to the finger's diameter: the 1.3cm width fits a child's finger or an adult little finger, 1.9cm suits most adult index/middle/ring fingers, and 2.5cm fits a swollen finger or an adult thumb. The 48cm length lets you trim to the right protective length without over-restricting the next joint.
Can I reuse an aluminium splint after applying it?
Aluminium foam-padded splints are reusable if the foam padding stays clean and intact. Wipe the aluminium core with hospital-grade disinfectant, replace any padding that contacted broken skin or body fluids, and discard any splint that has been bent more than twice — repeated bending fatigues the metal and creates sharp creases.
Should I try to straighten a deformed limb before splinting?
No. Australian Resuscitation Council guidance is to splint the limb in the position you find it, unless the casualty has no pulse below the injury. Realigning a fracture in the field can convert a closed fracture to open, sever blood vessels or nerves, and turn a managed injury into a surgical emergency.
How long can a casualty stay splinted before getting professional care?
A correctly applied splint that does not compress circulation can stay in place for the transport window to an emergency department — typically under two hours. Check fingers or toes every 15 minutes for warmth, colour and capillary refill. Numbness, blue tinge or cold skin means loosen the splint immediately.
Do I need a splint for a sprain or just for a fracture?
Severe sprains (Grade II or III) benefit from splinting because in the field you cannot reliably tell a sprain from a fracture without imaging. Splinting any suspected significant musculoskeletal injury reduces pain, prevents further damage and stabilises the limb for transport. Mild sprains usually need only RICE and compression.
Sources and further reading
- healthdirect — Fractures (Australian government health portal)
- healthdirect — Sprains and Strains
- Better Health Channel (Victoria) — Bone Fractures
- Australian Resuscitation Council — Guidelines (including 9.1.1 Soft Tissue Injuries)
Related guides on MediBC
- Workplace first aid cabinet guide: WHS compliance for Australian sites
- How to tape an ankle sprain using a bandage
- DRSABCD: the Australian first aid action plan, step by step
Build your splint kit — workplace-ready
Aluminium finger splints, foam-padded sheets and the multi-limb air splint satchel — the same picks recommended in the sizing matrix above.
Aluminium Finger Splint 1.3 x 48cm
Narrow-width splint for child fingers and adult little fingers.
Shop Now
Aluminium Finger Splint 1.9 x 48cm
Default adult finger splint for index, middle and ring fingers.
Shop Now
Aluminium Finger Splint 2.5 x 46cm
Wider splint for thumbs and swollen fingers post-injury.
Shop Now