
Reviewed by the MediBC First Aid Team · Last updated June 2026 · Aligned with ANZCOR Basic Life Support guidelines.
DRSABCD stands for — the 7-step first aid action plan
- Danger — check the area is safe for you and the casualty
- Response — check whether the casualty responds to you
- Send for help — call triple zero (000)
- Airway — open and clear the airway
- Breathing — check for normal breathing
- CPR — 30 chest compressions to 2 rescue breaths
- Defibrillation — attach an AED and follow the voice prompts
DRSABCD (said “Doctors A, B, C, D”) is the Australian first aid action plan taught by ANZCOR, St John Ambulance and Australian Red Cross for an unconscious or collapsed casualty.
Reviewed by the Medibc First Aid Team — last updated June 2026.
You may have seen the acronym DRSABCD (pronounced “Doctors A, B, C and D”) and know that it has something to do with administering first aid or emergency medical treatment.

But you may also be wondering, what exactly does DRSABCD stand for?
In this article, we’re going to take you through the DRSABCD steps and expand on each of the individual stages. Read on if you have an interest in first aid and want to know more.
What does each letter in DRSABCD mean?
Under the Australian Resuscitation Council (ANZCOR) Basic Life Support guidelines, DRSABCD is the action plan MediBC trains first aiders in Australia to follow. Each letter means:
- D — Danger: Check the area is safe for you, any bystanders and the casualty before approaching.
- R — Response: Check for a response — talk and touch (squeeze the shoulders) and ask their name.
- S — Send for help: Call triple zero (000) for an ambulance, or ask a bystander to call.
- A — Airway: Open and clear the airway and check the mouth for obstructions.
- B — Breathing: Look, listen and feel for normal breathing. If it is absent, start CPR.
- C — CPR: Give 30 chest compressions to 2 breaths — push hard and fast in the centre of the chest.
- D — Defibrillation: Apply an AED as soon as one is available and follow the voice prompts.
More about DRSABCD steps
The first thing you need to know is that DRSABCD stands for:
- Danger
- Response
- Send
- Airway
- Breathing
- CPR
- Defibrillation
The acronym is a handy reminder for the sequence of steps a first aid provider or emergency care professional needs to go through when treating an injured or sick person.
Let’s look at each of the steps in more detail.
Danger
When treating a sick or injured person, your first task is to check for danger. In emergency situations, a dangerous situation or item may be responsible for your patient’s sickness or injury. Check the immediate environment for signs of threats like fire, water, chemicals, poison, live electricity, challenging weather conditions, falling debris or a dangerous animal, for example.
Do what you can to take the danger out of the situation, and move your casualty and anyone else away or take shelter.
Response
Next, you need to check whether your casualty responds to you. You can use another handy acronym — “COWS” — to do this:
- Can you hear me?
- Open your eyes?
- What is your name?
- Squeeze my hand
If they are responsive and conscious, you can try to probe them for further information by asking them what happened, whether they are experiencing pain and if they have a medical condition.
If they are unresponsive and unconscious you can check for any medical alert ID that the patient might be wearing that can provide vital information about their health status and any medication they are taking.
Send
Now that you’ve established the basic circumstances, it’s time to send for help.
Get someone with you to dial triple zero (000) or shout for help if you are alone.
If there is no one else around, you can call the emergency services for help yourself, putting the phone on speaker so that you can act on any instructions.
If you don’t have a phone available, you may need to put the casualty on their side in the recovery position and run to find assistance.
Airway
The next step is to check the casualty’s airway. Open their mouth and see whether food or fluids (including vomit) or even their own tongue is blocking their airway. If you can see anything, roll the casualty on their side so that any liquids can drain away.
Clear any blockages gently with your finger, as long as you are confident that you won’t make the obstruction any worse.
If the airway is already clear, ensure that the casualty is lying on their back then tilt their head back to open up the airway.
Breathing
You can check that the casualty is breathing by observing whether their chest is rising and falling. You can also listen for their breath by placing your ear close to their mouth for at least 10 seconds.
If the patient is breathing, place them on their side in the recovery position.
If they are not, ensure triple zero (000) has already been called then start CPR.
CPR
If you are on the phone with the emergency services, they may talk you through giving CPR (cardiopulmonary resuscitation).
You may already be familiar with this process, which involves giving a series of chest compressions and breaths blown in through the casualty’s mouth.
This is a technique that is best learnt on an in-person first aid course.
Try to keep going until assistance comes or the casualty starts breathing again.
Defibrillation
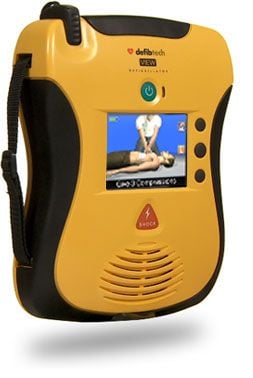
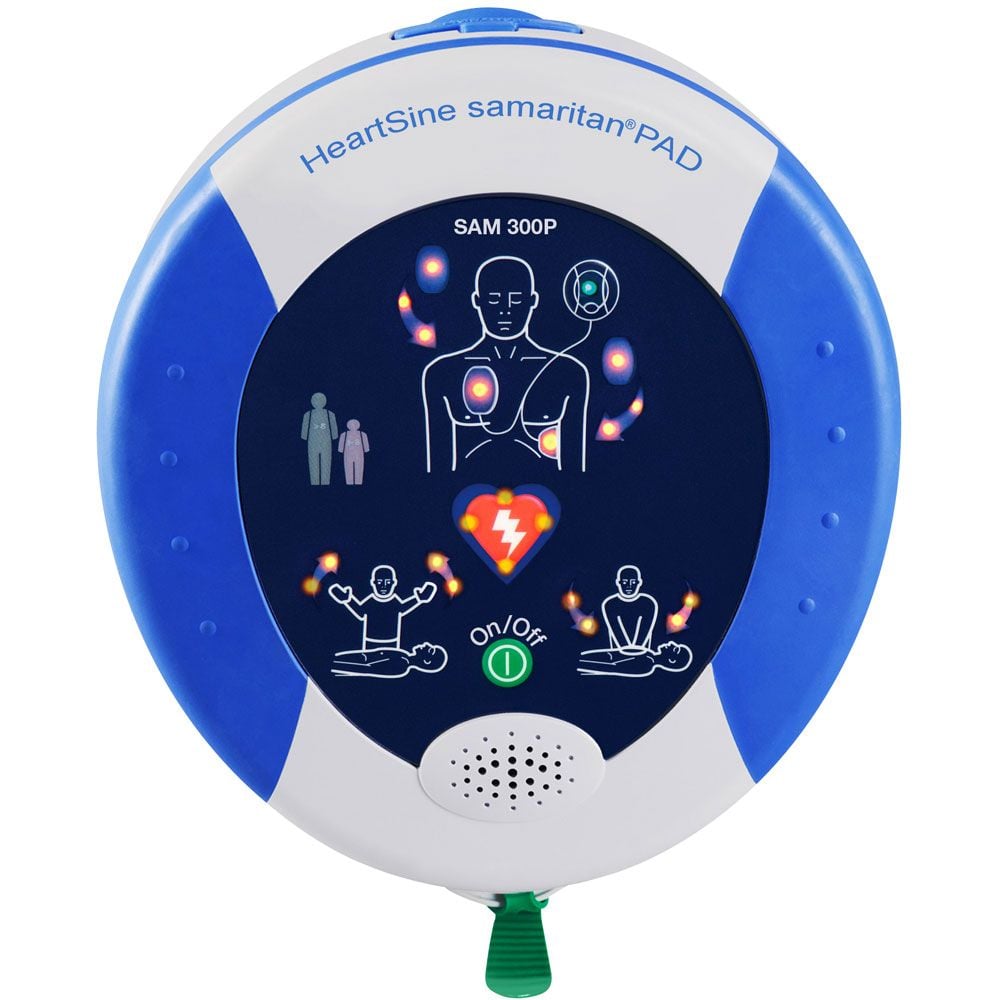
If the casualty is still unconscious and not breathing, you can use an automated defibrillator (also known as an AED) if there is one available.
The defibrillator will deliver an electric shock to restore the heart’s natural rhythm. It will come with instructions, which means it’s straightforward to use, even by the inexperienced.
You will find defibrillators in many public places in Australia, and taking note of where they are when you are outside the home is a good habit to have.
DRSABCD for adults, children and infants
The DRSABCD action sequence is the same for any casualty — but compression depth, rate, and ventilation technique change with age. Mixing them up is the most common single mistake in lay-bystander CPR.
Adult (over 12 years)
Compression depth: at least 5cm (one-third of chest depth), no deeper than 6cm. Rate: 100–120 per minute. Two-handed compressions, heel of one hand on the lower half of the sternum, fingers interlocked. 30 compressions to 2 rescue breaths, unless you are untrained or unwilling — then hands-only CPR (continuous compressions, no breaths) is acceptable and saves lives.
Child (1–12 years)
Compression depth: about 5cm (one-third of chest depth). Rate: 100–120 per minute. One-handed compressions for smaller children, two-handed for larger. Same 30:2 ratio. Use paediatric AED pads if available, otherwise adult pads on a child over 1 year (front and back placement).
Infant (under 1 year)
Compression depth: about 4cm (one-third of chest depth). Rate: 100–120 per minute. Two-finger compressions on the lower half of the sternum, just below the nipple line. Cover both mouth and nose with your mouth for ventilations — the airway is much smaller. Same 30:2 ratio. Always call 000 before starting if you are alone with an infant (most infant arrests are respiratory in origin, so airway/breathing wins).
Why the differences matter
Adult compression depth on an infant chest can cause rib and organ injury. Infant compression depth on an adult chest delivers no perfusion. Memorising the "one-third of chest depth" rule for all ages and adjusting hand position by size is easier than remembering exact centimetres in an emergency.
Adapting DRSABCD to specific emergencies
The seven-step sequence covers the cardiac-arrest pathway. Other emergencies have one or two adaptations layered on top — same alphabet, different starting point.
Drowning — 5 initial rescue breaths
Drowning casualties are hypoxic (low oxygen) rather than primarily cardiac. ANZCOR Guideline 9.3.2 directs rescuers to give 5 initial rescue breaths BEFORE starting compressions, then continue normal 30:2 CPR. If a CPR pocket mask is available, use it — foam and water in the airway are common. Continue resuscitation longer than for non-drowning arrests — survival has been reported after over 60 minutes of CPR in cold-water drowning.
Electrical injury — cut power first
Never touch a casualty still in contact with a live electrical source. STOP at the "Danger" step. Turn off the power at the mains, switchboard, or isolation switch. Move the casualty using a non-conductive object (wooden broom handle, plastic chair) only if power cannot be cut. THEN proceed with normal DRSABCD. Cardiac arrest from electric shock is highly survivable with prompt CPR + AED — see our electric shock first aid guide for the full protocol.
Anaphylaxis — adrenaline before CPR if available
Severe allergic reactions (anaphylaxis) can cause respiratory then cardiac arrest. If the casualty has known anaphylaxis and an EpiPen, administer the adrenaline auto-injector into the outer thigh BEFORE moving to CPR. Then DRSABCD as normal. Call 000. A second dose can be given after 5 minutes if no improvement and a second pen is available.
Stroke — FAST first, then DRSABCD if unconscious
Stroke usually does not require CPR. Use FAST (Face, Arms, Speech, Time) to recognise stroke and call 000 immediately. DRSABCD only if the casualty becomes unconscious or stops breathing. Stroke Foundation Australia recommends recording the time of symptom onset — thrombolytic treatment is most effective within 4.5 hours.
Cardiac arrest in pregnancy
If the casualty is visibly pregnant (over ~20 weeks), TILT her onto her left side by 15–30 degrees during CPR (or have a bystander manually push the uterus to her left). This relieves pressure on the inferior vena cava and improves blood return to the heart. All other CPR mechanics are unchanged. Call 000 stating "cardiac arrest, pregnant casualty" — paramedic response may be upgraded.
Hypothermia — CPR longer, gentle handling
Cold-water immersion and prolonged exposure can cause hypothermic cardiac arrest. Handle gently (rough handling can trigger ventricular fibrillation). Continue CPR for extended periods until paramedics arrive — "no one is dead until warm and dead" is the field saying. Move to a warm dry environment between compression cycles when possible.
The most common DRSABCD mistakes — and how to avoid them
1. Forgetting to send for help
Bystanders often dive straight into airway and breathing without dialling 000. The "Send" step is non-negotiable — paramedics with advanced airway, drugs, and transport are essential. Designate a specific person ("YOU in the blue shirt, call 000 now") so the bystander effect doesn't leave everyone waiting for someone else to act.
2. Hesitating to start CPR
Modern lay-bystander CPR guidelines are clear: if the casualty is unresponsive and not breathing normally, start CPR. Agonal breathing (gasping, infrequent gulps) is NOT normal breathing — treat as arrest. The cost of starting CPR on someone who turns out to be merely asleep is mild bruising; the cost of NOT starting on someone in arrest is death.
3. Wrong compression depth or rate
Australian studies show lay rescuers compress too shallow (under 4cm) about 70% of the time. Use the song "Stayin' Alive" or "Baby Shark" (kids' age cohort) to keep tempo — both are ~100 BPM. Lean over the casualty so your shoulders are directly above your hands and use body weight, not arm strength.
4. Not switching rescuers
CPR is exhausting. Compression quality drops sharply after 2 minutes. If multiple rescuers are present, swap every 2 minutes (or every 5 cycles of 30:2) with as little interruption as possible — ideally during the AED rhythm check. Aim for less than 10 seconds total interruption per swap.
5. Stopping CPR too early
Continue CPR until: paramedics arrive and take over, the casualty regains signs of life (movement, breathing, eye opening), you are physically unable to continue and no replacement is available, or the scene becomes unsafe. Average ambulance response in Australian metro is 8–12 minutes — 10 minutes of solid CPR is achievable for any reasonably fit adult.
6. Hesitating to use the AED
AEDs are designed for completely untrained bystanders. They will NOT shock a casualty who doesn't need shocking — the algorithm analyses the rhythm. Apply the pads, follow the voice prompts, deliver the shock if instructed. Every minute without defibrillation reduces survival by 7–10% — hesitation costs lives.
7. Not following up after revival
If the casualty regains consciousness, place them in the recovery position (on their side, head tilted slightly back), continue to monitor breathing, and stay with them until paramedics arrive. A return-of-spontaneous-circulation (ROSC) casualty can still re-arrest — do not leave them unattended.
DRSABCD and first aid
This is just a brief guide to DRSABCD to give you a basic understanding of what the steps mean.
If you have an interest in first aid, then it’s a good idea to go on a course to learn these skills in more depth.
Now is also a good time to update your home first aid kit. Ensure that it is fully stocked up and order any refills you need.
Make sure that you also have an up-to-date first aid kit in your car so that you are prepared even when you are on the go.
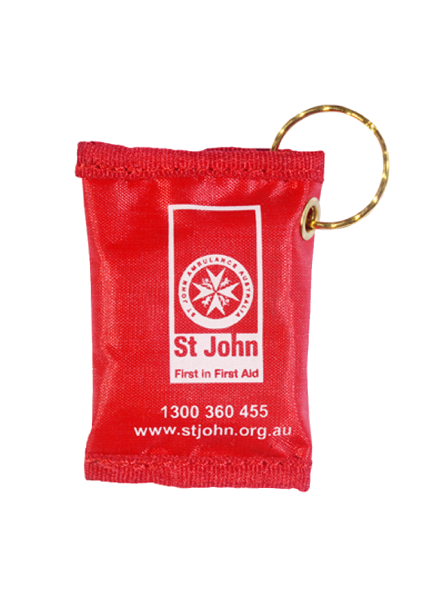
You’ll find a full range of first aid kits, refills and defibrillators in our extensive online shop, bringing together everything you need under one roof.
With good, old-fashioned customers service and swift delivery Australia-wide, we’ve got all your first aid needs covered!
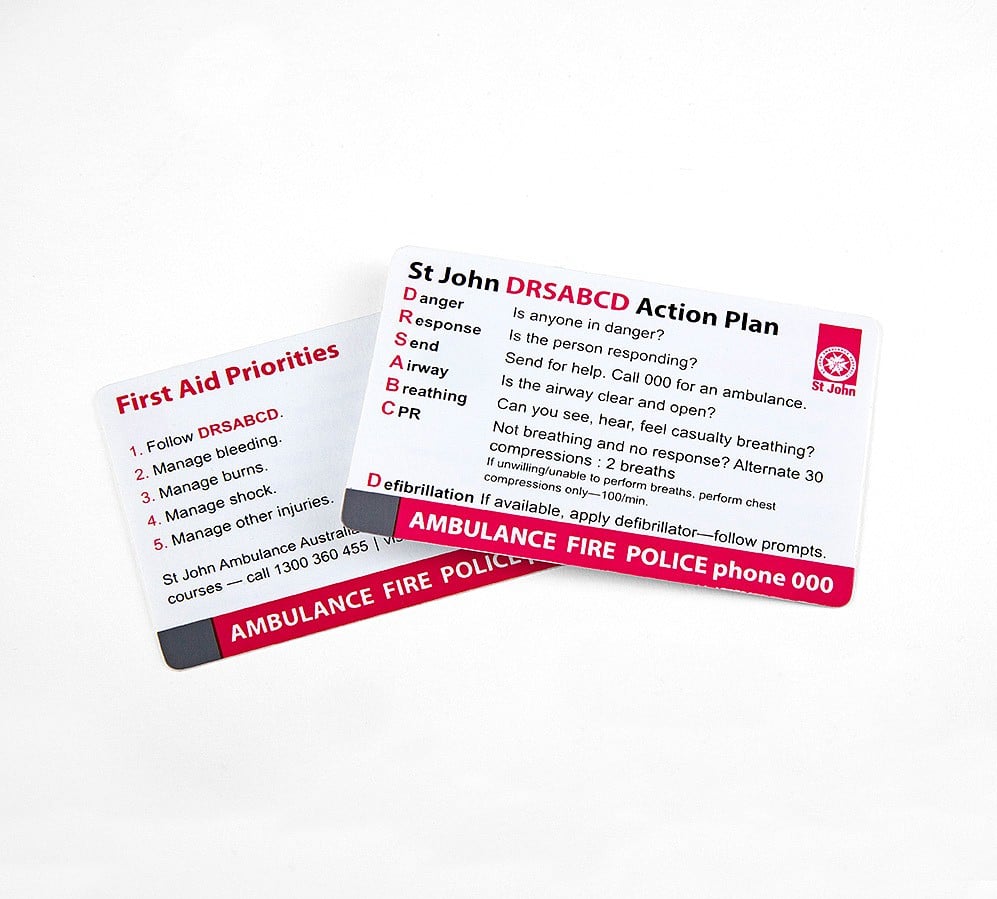
DRSABCD: CPR & AED Essentials
Pocket CPR shields, AEDs, and DRSABCD reference cards for everyone trained in basic life support.


Frequently asked questions
What does DRSABCD stand for?
DRSABCD is the Australian basic life support action plan: D - Danger (check the scene is safe), R - Response (is the casualty responsive), S - Send for help (call 000), A - Airway (clear and open the airway), B - Breathing (check for normal breathing), C - CPR (start chest compressions if not breathing), D - Defibrillation (apply an AED as soon as available).
Who developed the DRSABCD action plan?
The DRSABCD action plan is endorsed by the Australian Resuscitation Council (ARC) and forms the foundation of all accredited Australian first aid courses. It replaced the older DRABC sequence by adding the 'Send for help' step before airway management and 'Defibrillation' as the final step.
What is the difference between DRSABCD and CPR?
DRSABCD is the complete first aid action sequence used at the scene of any medical emergency. CPR (cardiopulmonary resuscitation) is the 'C' step within DRSABCD - chest compressions and rescue breaths used only when the casualty is unresponsive and not breathing normally.
How long should you do CPR before stopping?
Continue CPR until: paramedics arrive and take over, the casualty regains consciousness and is breathing normally, you are physically unable to continue and no replacement is available, OR the scene becomes unsafe. There is no fixed time limit. Australian metro ambulance response averages 8-12 minutes, so 15+ minutes of CPR is common. In hypothermic or paediatric drowning casualties, continue much longer - survival after over 60 minutes of CPR has been documented. If multiple rescuers are present, swap every 2 minutes to maintain compression quality.
What is hands-only CPR and when is it OK to skip the rescue breaths?
Hands-only CPR means continuous chest compressions with no rescue breaths. ANZCOR and the American Heart Association both endorse it for untrained bystanders or rescuers unwilling to give mouth-to-mouth - it is significantly better than no CPR. Push hard and fast at 100-120 compressions per minute, 5-6cm deep, on the lower half of the sternum. Standard 30:2 CPR (with breaths) is still preferred when the rescuer is trained and willing - especially for drowning, paediatric arrest, and prolonged resuscitation - because oxygenation matters more in those scenarios.
Sources: healthdirect.gov.au — CPR & resuscitation, Australian Resuscitation Council Guidelines, St John Ambulance Australia fact sheets.
\n\nRelated first aid guides: first aid for burns and scalds, tick bite first aid, wasp sting first aid, first aid for spider bites, and food poisoning treatment. · triage categories, colours and triage tags
\n\n